Many Windows 10 users reported the issue of not getting connected automatically to their WiFi Networks. This usually starts after you’ve upgraded to Windows 10 from a previous version of Windows. There can be numerous causes that may be causing this issue; while this may not be the case before upgrading but as per my understanding this is by design in Windows 10. I was able to successfully resolve the issue for a user, with a couple of solutions which i will be listing in this guide. Before you begin, take a look at this guide and make sure you’ve followed those steps. If it still doesn’t work, then proceed with the steps listed in this guide.
Disable Ethernet
The first step is to ensure that you’re only connected to the Wi-Fi and not the both. Quickly disable Ethernet if it’s connected along with the Wi-Fi. Connecting to both of them sometimes creates a conflict, and is not needed because you’re already on the Wi-Fi. To do this:
Hold the Windows Key and Press R. In the run dialog, type ncpa.cpl and Click OK. 
Right click your Ethernet adapter, and choose Disable.

If any of these steps do not apply to you, then just proceed to the next. Once this is done, move to the next step below.
Change WiFi Network Location
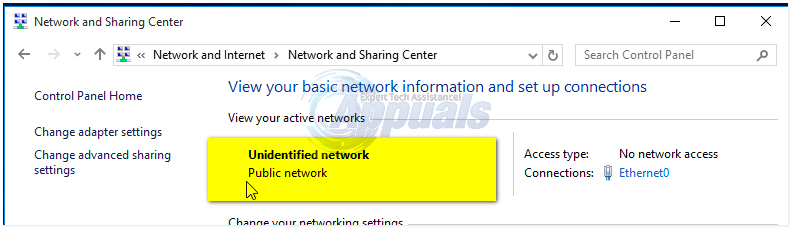
Now ensure that the WiFi Network Location is not public, if it is Public then change it to Private. To check this open Network & Sharing Center and look under your Network Name.
To change from Public to Private, Hold the Windows Key and Press R. In the Run Dialog, type regedit and Click OK
Expand and browse to the following path in the Registry Editor
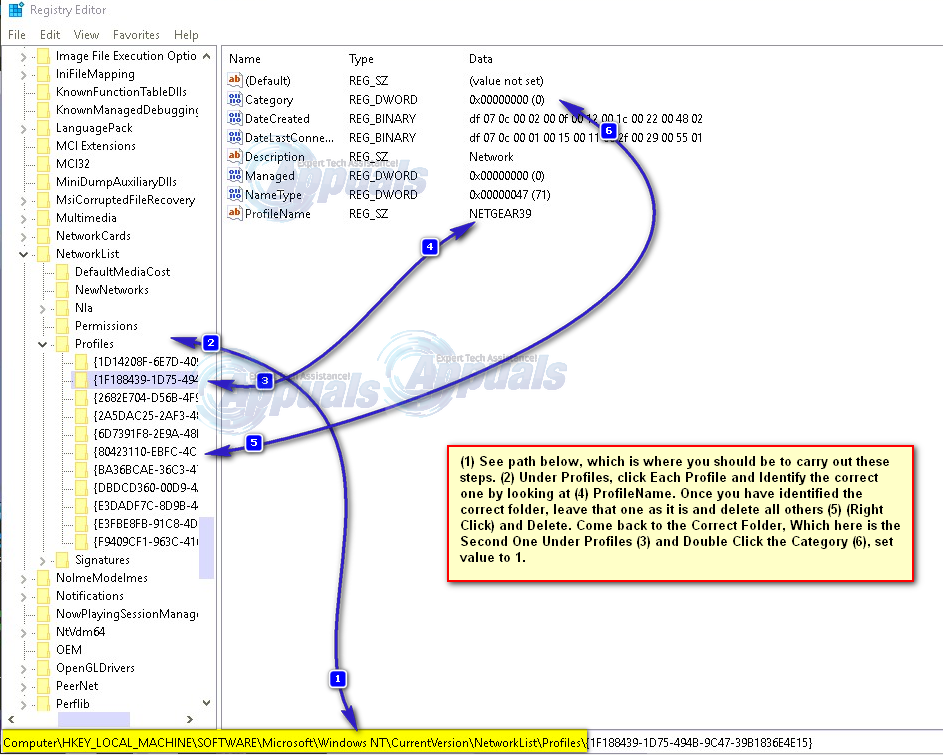
HKEY_LOCAL_MACHINE\SOFTWARE\Microsoft\Windows NT\CurrentVersion\NetworkList\Profiles
Once there, look under the Profiles folder, there may be one or more then one Folder there. Click on Each Folder under Profiles, and look for the Data Field in the ProfileName folder. This is where you should see your current wireless network name, and previous names in Other Folders. Once you’ve identified the correct folder, with the correct name, leave that one and delete all other Folders by Right Clicking and Choosing Delete. Once done, come back to the correct folder and double click the Category Value and set it to 1. If it is 0 then that means it was set to Public and if it is 2 then it is the Domain. (before changing this, speak to your network administrator). 1 Means, it is private. Changes will take effect after reboot. Once done, exit out. Now reboot the PC and TEST. If it still won’t work, then proceed with this method below.
Now reboot the computer and test. Make sure wi-fi is set to connect automatically, if it’s not then set it to automatically and reboot again. If it still won’t work then proceed with the Power Options steps below.
Power Options and System Settings
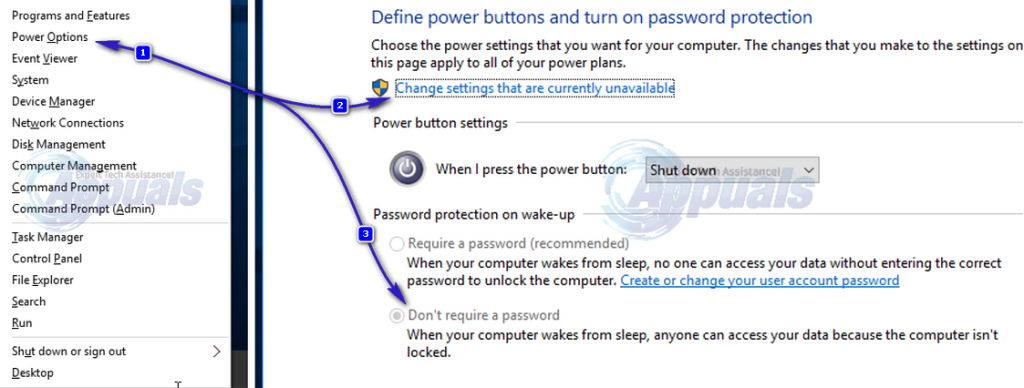
Hold the Windows Key and Press X. Choose Power Options. Choose Require a password on wake up from the left pane, and click Change settings that are currently unavailable.
Under Password Protection on Wake Up choose, Don’t Require a Password.
The post BEST FIX: Windows 10 WiFi issues After Sleep/Wake or Hibernate appeared first on Appuals.com.