The Skyrim infinite loading screen appears to players who want to create a new save file and start playing the game. It’s the loading screen before entering the game at all and it often appears to users who have just installed the game or to users who have added new mods and who want to launch a new game with those mods installed. In other, rarer cases, the error appears randomly when switching locations or fast traveling.

This problem has been around for as long as anyone can remember and players have found diverse ways to deal with the problem. We have gathered these methods in a detailed article and we hope you would be able to resolve your problem!
What Causes the Skyrim Infinite Loading Screen Error?
- Memory allocation problems which occur while loading a game or while trying to create a new one. These problems have been occurring since the game launched and there is a Memory Patch you can use to solve the problem.
- A large number of mods can increase instability and cause the game to misbehave in all kinds of different ways, including the infinite loading screen. Consider disabling them.
- Windows can sometimes register the behavior of the loading screen as if the game was not responding.
Solution 1: Edit Your SKSE ‘.ini’ File
If you are using the Skyrim Script Extender (SKSE), then this solution is perfect for you. Even if you’re not, it might be a good time to install it and install the Memory Patch. It has been available for a long time now and it deals with the ILS caused by bad memory allocation. Check it out below!
- Locate the game’s installation folder manually by right-clicking the game’s shortcut on Desktop or anywhere else and choose Open file location from the menu.
- If you have installed the game via Steam, open its shortcut on the Desktop or by searching for it in the Start menu simply by typing “Steam” after clicking the Start menu button.

- After the Steam client opens, navigate to the Library tab in the Steam window at the menu located at the top of the window, and locate the Skyrim entry in the list.
- Right-click the game’s icon in the library and choose the Properties option from the context menu which will open and make sure you navigate to the Local Files tab in the Properties window straight away and click the Browse Local Files.

- In the Skyrim folder, navigate to Data >> SKSE and look for a file named ‘skse.ini’. Right-click on it and choose to open it with Notepad. If there is no such file, right-click inside the folder and choose New >> Text Document.
- Inside Notepad, click File >> Save as. Set the Save as type option to All files and set the name to ‘skse.ini’ before clicking Save.

- Paste these lines into the file and save the changes in order to apply the Memory Patch which should take care of the problem:
[General]
EnableDiagnostics=1
ClearInvalidRegistrations=1

[Display]
iTintTextureResolution=2048

[Memory]
DefaultHeapInitialAllocMB=768
ScrapHeapSizeMB=256
- Check to see if the Skyrim infinite loading screen (ILS) still appears!
Note: If this still doesn’t work, you can try to change some properties of the ‘skse_loader.exe’ file. This has helped users so make sure you don’t skip this part:
- Locate the skse_loader.exe file in the main Skyrim folder, right-click on it, and choose to create a shortcut on Desktop. Navigate to that shortcut, right-click on it and stay in the Shortcut tab.

- In the Target area, add a space after the last quotation mark and add ‘-forcesteamloader’ before clicking OK. Check to see if the problem still appears.
Solution 2: Edit your Skyrim Preferences File
Apart from the solution above, this file is located in every Skyrim installation and it’s used to troubleshoot problems by changing or adding lines within it. There are quite a few commands you can try out in order to resolve this problem but we will stick with the ones which have helped out the most users!
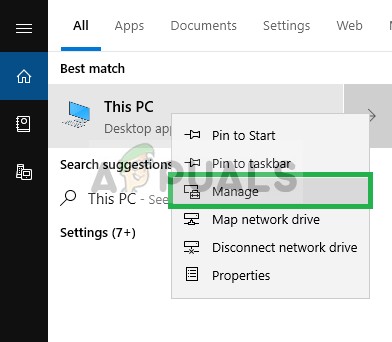
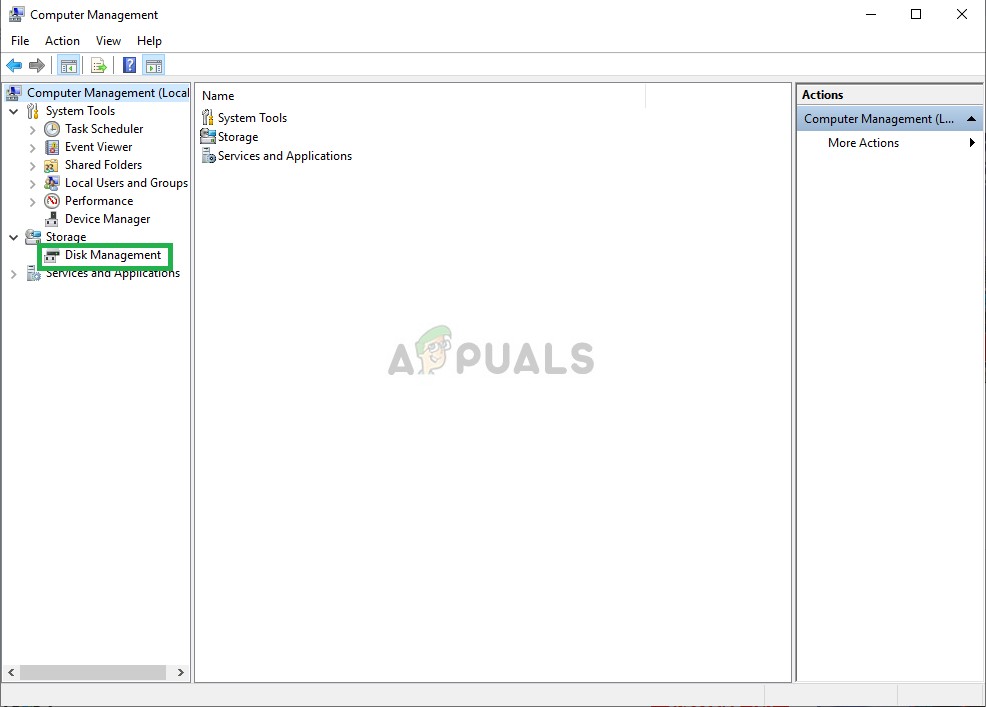
- Navigate to the folder’s location in the File Explorer simply by opening a folder and clicking This PC or My Computer from the left navigation pane or by searching for this entry in the Start menu.

- Anyway, in This PC or My Computer, double-click to open your Local Disk and navigate to Users >> Your Account’s Name >> Documents >> My Games >> Skyrim. Windows 10 users can simply navigate to Documents after opening File Explorer from the right-side navigation menu.

- Right-click the file called named ‘skyrim.ini’ and choose to open it with Notepad.
- Use the Ctrl + F key combination or click Edit at the top menu and select the Find option from the dropdown menu in order to open the Search box.
- Type “fPostLoadUpdateTimeMS” in the box and change the value next to it from the previous value to 2000.0. Use the Ctrl + S key combination in order to save the changes or click File >> Save and exit Notepad. If you don’t find this line, simply navigate or create the [Papyrus] section and make sure your the line looks like on the picture below:

- Try running the game again in order to check if Skyrim infinite loading problem still appears!
Note: Another change you can make to the ‘skyrim.ini’ file is to make sure that the [MapMenu] section of the file looks like the snippet we will include below. If you have this section in the ‘skyrim.ini’ file, make sure you edit it accordingly and if you don’t, simply paste this at the end of the file:
[MapMenu]

sMapCloudNIF=0
bWorldMapNoSkyDepthBlur=1
fWorldMapNearDepthBlurScale=0
fWorldMapDepthBlurScale=0
fWorldMapMaximumDepthBlur=0
fMapWorldYawRange=3600.0000
fMapWorldMaxHeight=130000.0000
fMapWorldMinHeight=5000.0000
Solution 3: Use the Registry Editor
Sometimes even Windows can be the culprit to blame for the problem because of its registry settings. If these settings are not configured properly, you can receive these infinite loading screens and freeze the game because Windows considers the game as a not responding program if the loading time is longer than the value in Registry. Resolve the problem below!
- Since you are going to delete a registry key, we recommend you check out this article we have published for you to safely backup your registry to prevent other problems. Still, nothing wrong will occur if you follow the steps carefully and correctly.
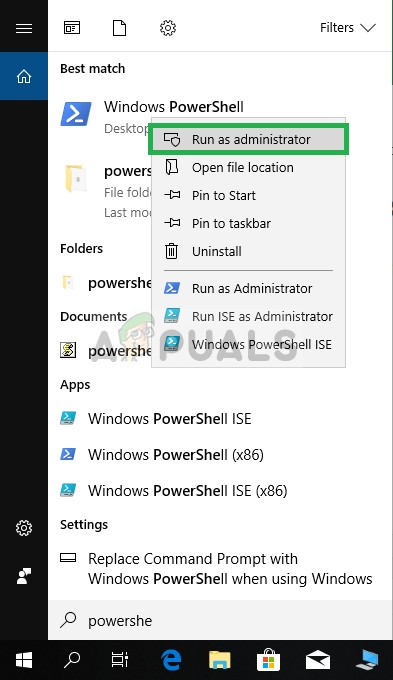
- Open the Registry Editor window by typing “regedit” in either the search bar, the Start menu, or the Run dialog box which can be accessed with the Windows Key + R key combination. Navigate to the following key in your registry by navigating at the left pane:
HKEY_CURRENT_USER\Control Panel\Desktop

- Click on this key and try to locate an entry named HungAppTimeout. If you fail to find it, create a new String Value entry called HungAppTimeout by right-clicking at the right side of the window and choosing New >> String Value. Right-click on it, and choose the Modify option from the context menu.

- In the Edit window, under the Value data section change the value to 30000 and apply the changes you have made. Confirm any security dialogs which may appear during this process.
- You can now manually restart your computer by clicking Start menu >> Power button >> Restart and check to see if the problem is gone. This will effectively increase the time needed for Windows to pronounce the game unresponsive to 30 seconds!
The post Fix: Skyrim Infinite Loading Screen appeared first on Appuals.com.