Error Code 28 is displayed while someone is trying to stream content on Vudu and it is most likely an indicator for an issue with your internet configurations or with the Network configuration for the TV. This Error might also indicate an error with the DNS configurations for the network.

What Causes the “Error Code 28” on Vudu?
We found the underlying causes to be:
- Closed Port: All apps and software require ports to communicate with the internet and these ports can sometimes overlap between applications and it might prevent the app from being able to access the internet. Also, in some cases, the ports might be disabled from the Firewall and the internet service provider might be preventing access to these ports.
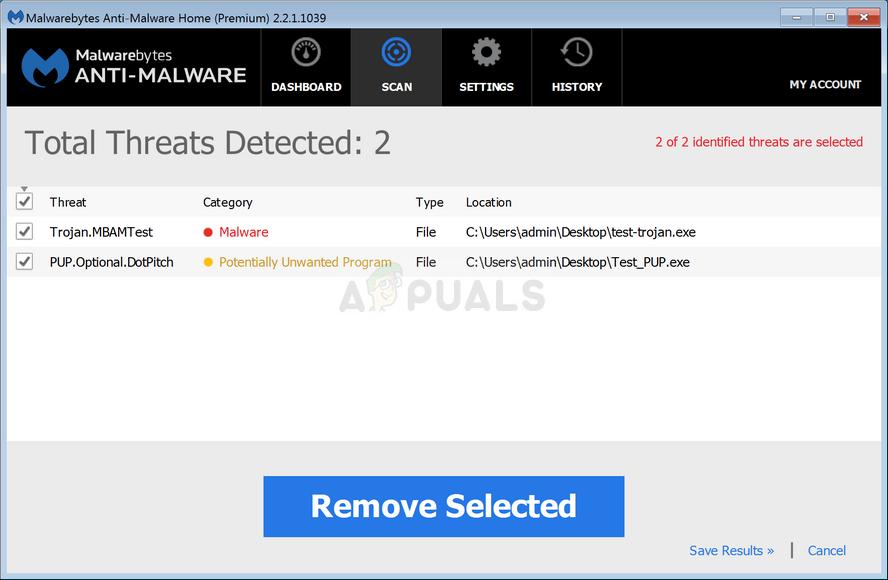
- AntiVirus: The Antivirus might also be sometimes preventing the app from being able to access the internet. Antiviruses can often prevent the applications from being able to access the internet because they might flag them as suspicious. These types of False Alarms are quite common with both Windows’ and third-party Antiviruses. Therefore, it is recommended to temporarily disable the Antivirus.
- Double NAT Config: Also, keep in mind that most apps might not work with the Double NAT Ip Configuration and if your router is configured in Double NAT, you will have to contact your ISP to change it.
Solution 1: Opening Ports
Since Ports are used by the applications to communicate with the internet if a certain port has been closed the connection might be terminated. Every app uses a specific port to communicate and this needs to be opened by the user before they can proceed towards solving the error. Therefore, first of all, check for open ports on the network and if the ports aren’t open, we can open them manually. For that:
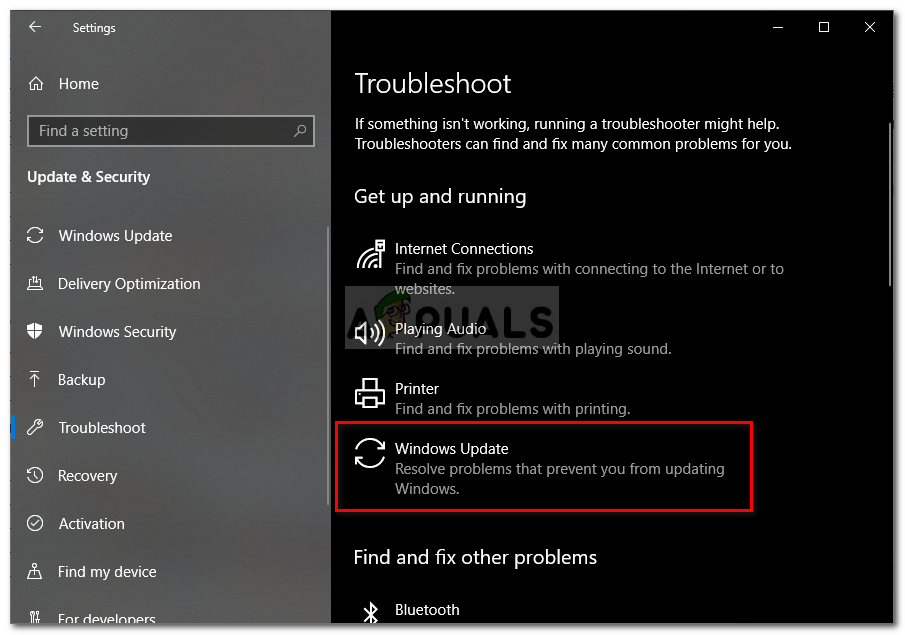
- Press “Windows” + “I” to open settings and click on “Update & Security”.
![]()
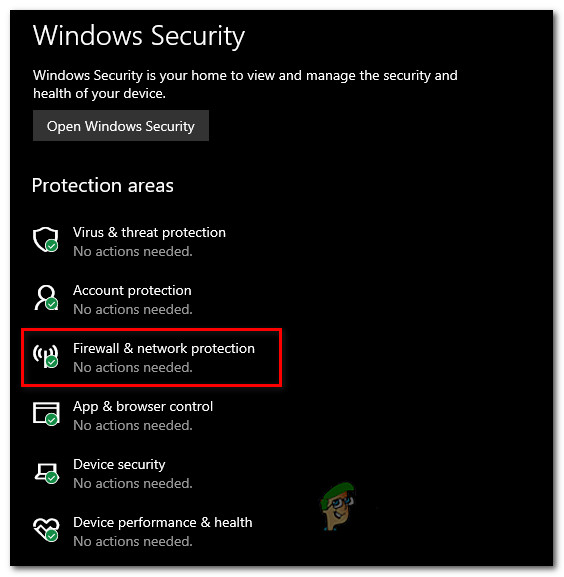
Selecting the Update & Security Option - Select the “Windows Security” button from the left pane and click on the “Firewall and Network Security” option.
![]()
Accessing the Firewall & network protection settings - Select the “Advanced Settings” button from the list.
- A new window will open up, Click on the “Inbound Rules” option and select “New Rule“.
![]()
Clicking on “Inbound Rule” and select “New Rule” - Select “Port” and click on “Next”.
![]()
Selecting Port and clicking on Next - Click on “TCP” and select the “Specified Local Ports” option.
![]()
Clicking on “TCP” and checking the “Specified Local Ports” option - Enter the following Port Numbers with commas to separate them.
“843, 13207, 13217, 13227, 13237, 13247, 13257” - Click on “Next” and select “Allow the Connection“.
![]()
Selecting the “Allow the connection” option - Select “Next” and make sure all three options are checked.
![]()
Checking All options - Again, click on “Next” and write a “Name” for the new rule.
- Select “Next” after writing a name and click on “Finish“.
- Repeat the above process for “Outbound Rule” and check to see if the issue persists.


Solution 2: Changing DNS Settings
If the device that you are trying to use Vudu on is using incorrect DNS configurations that don’t lead to Google’s DNS servers, it might cause issues with some software. Therefore, in this step, we will be using Google’s default DNS settings for the device. In order to do that:
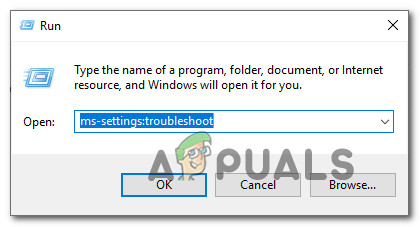
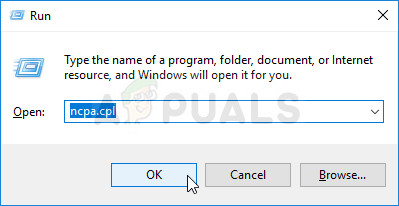
- Right-click on the Network icon on the bottom-right of the taskbar.
- Choose Open Network & Internet Settings.
- Click Change adapter options on the window that pops up.
![]()
Clicking on the “Change Adapter Options” button” - Right-click your network adapter and select Properties.
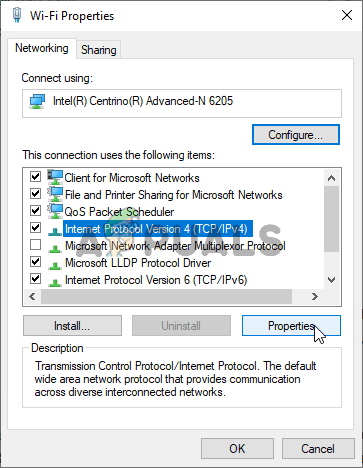
- Locate Internet Protocol Version 4 (TCP/IPv4), highlight it and click Properties.
![]()
IPv4 Properties - Select the ‘Use the following DNS Server addresses’ box.
- Afterward, type 8.8.8.8 in the Preferred DNS Server box and 8.8.4.4 in the Alternate DNS Server box.
![]()
Changing the DNS Server settings - Click on “Apply” and then on “OK”.
- Launch Vudu and check to see if the issue persists.


The post Fix: Vudu Error 28 appeared first on Appuals.com.